Good Morning
The Saturday Morning Home Repair Blog (SMHRB) is where we gather to discuss the many and varied aspects of home repair. Some here are trained professionals. Some, talented DIYers. Some, hopeless thumb-hammerers. All are welcome. Please feel encouraged to ask questions, share successes, lament sags, drips and cracks and, as always, share any advice that you have for the rest of us.
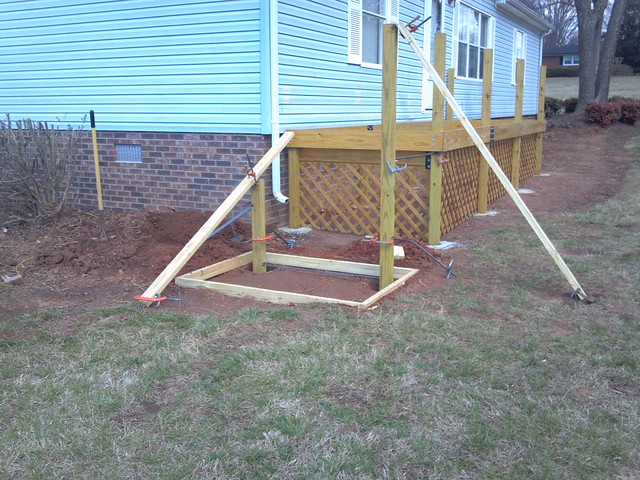
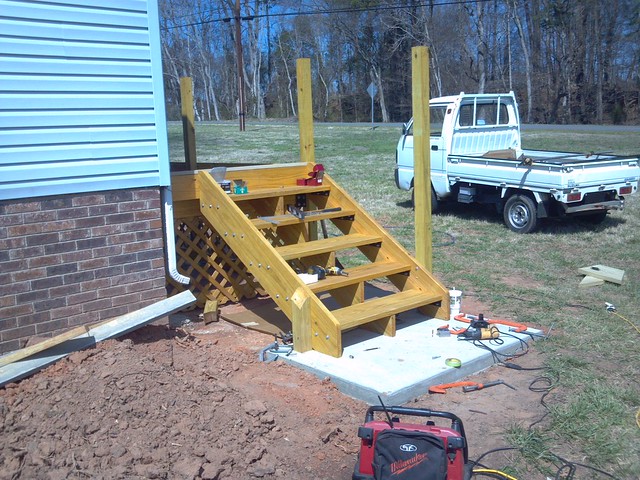
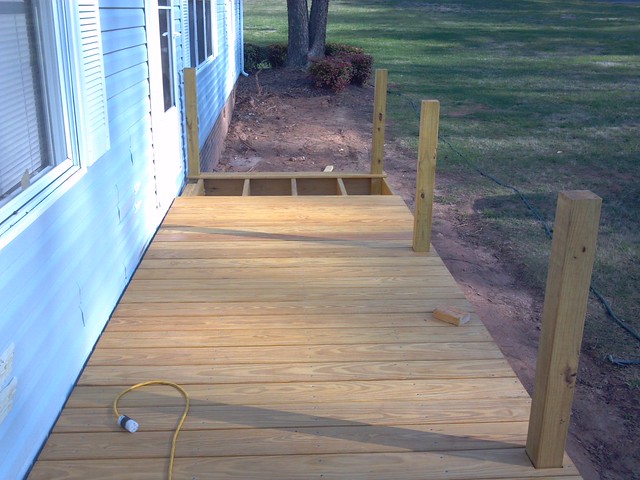
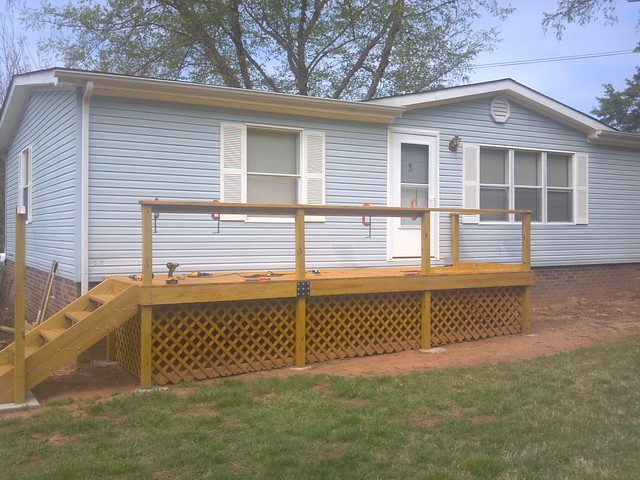
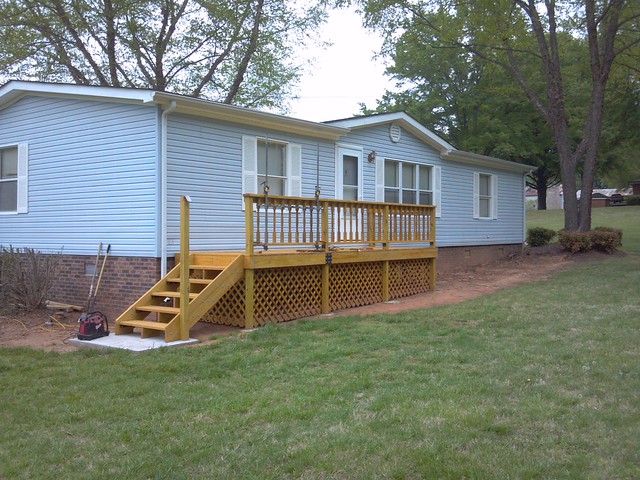
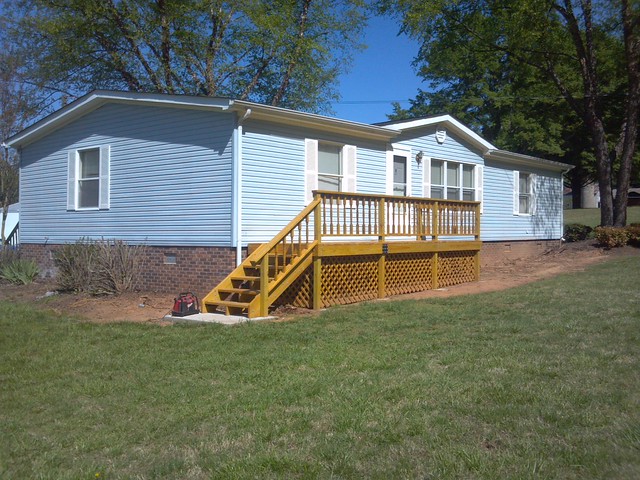
I work at a place with 4 buildings & two homes on 11 acres. The owner wanted to replace the front porch on the Blue House (which is a house trailer). I tore down the old one in November, I thought I had taken pictures.
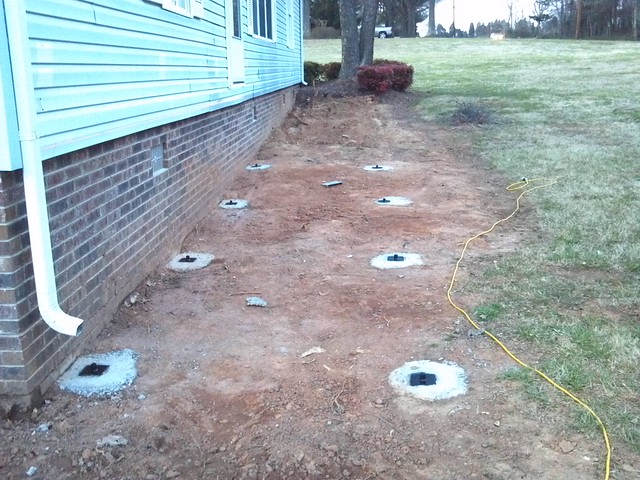
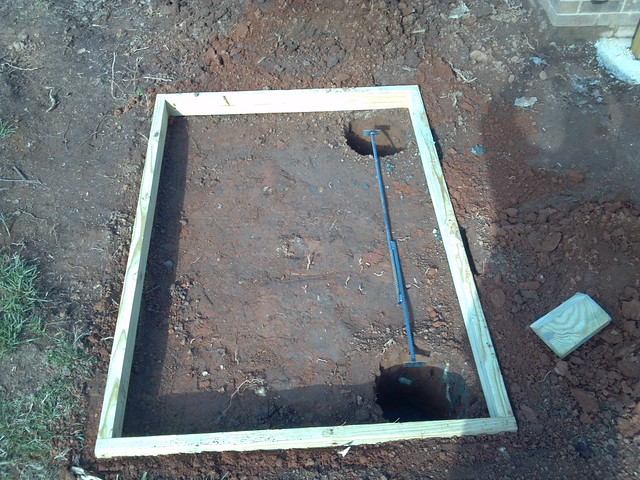
This Picture was taken 3-15-2013.
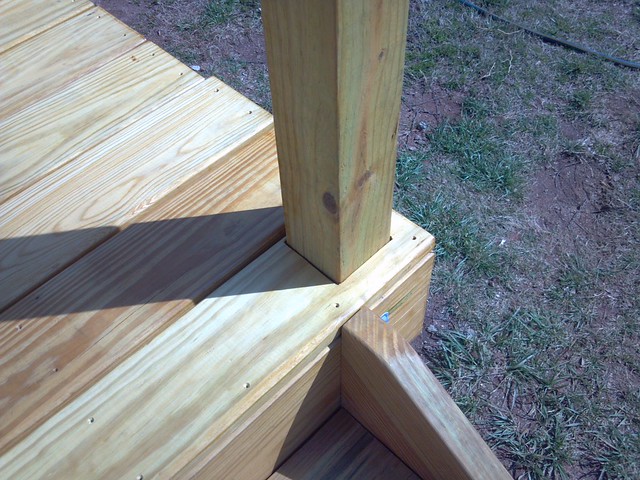
It's the 8 pads I dug out & poured a bag of ready mix in & put a 4"x4" plate with a short piece of rebar welded on one side & a one inch pipe on the other. When I tore down the old porch it just sat on the ground. It was stable so I thought I'd do the same with a few improvements. I drilled a 1" hole in the end of the 4x4 post.
I also decided every board would be pinted/stained before it was installed. So I had to check to make sure boards fit before I painted them. A few times I had to re cut & paint the end.
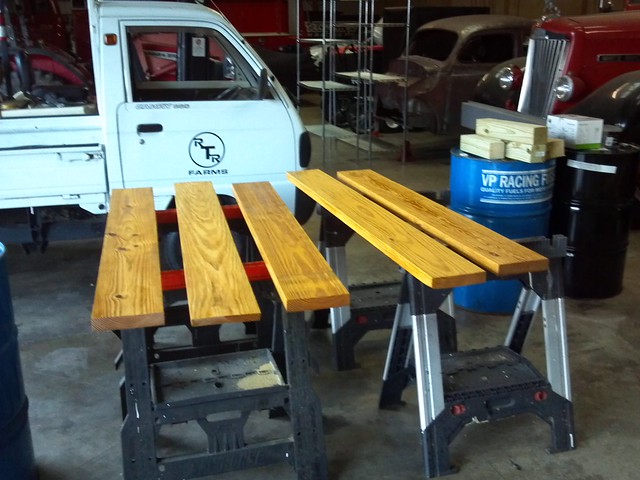
I also decided I would use lag bolts to hold the boards together, & in some places I used plates.
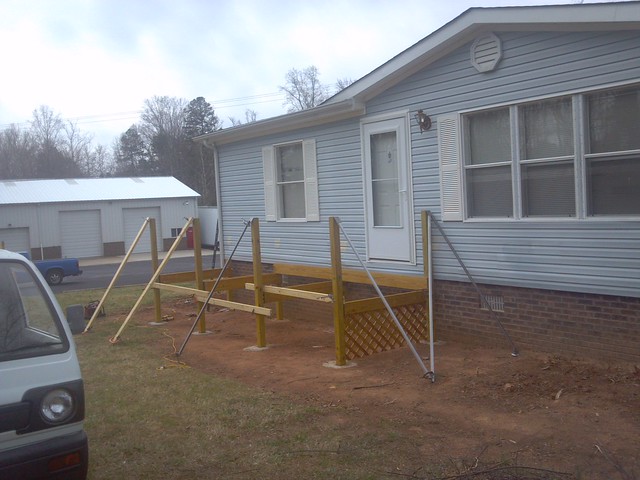
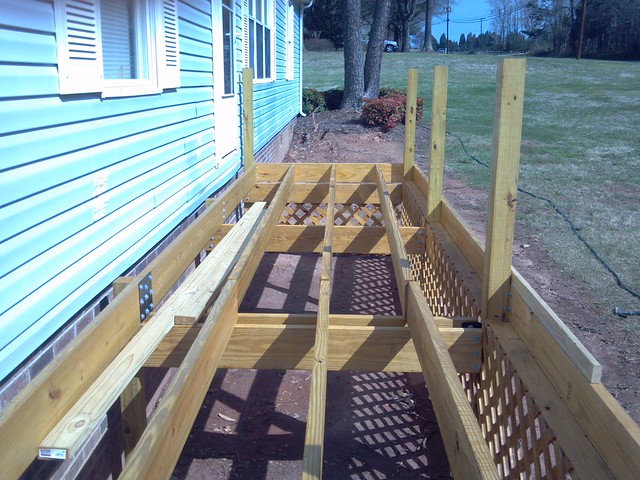
I used angle brackets so the lattice could be put on the inside of the 4x4 post. I wanted this look to the porch. You will see them if you look at the slide show I post at the end, I don't want to get carried away with pictures.
Because I closed the underside of the porch off with lattice I had to build the steps before I put down the deck boards. I couldn't see how I could put a hand rail on the steps with out pouring the post. Can't stand wiggly railing :) .
I fitted the boards for the steps.
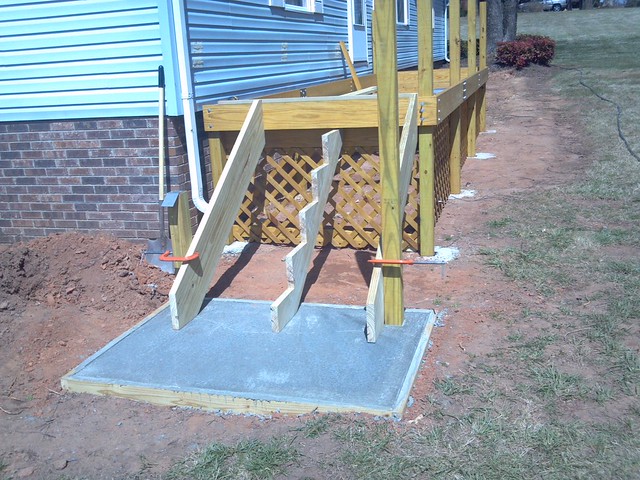
Then they got painted. I've only built stairs a few times, I don't like the cut out side boards, I didn't want short pieces of wood for the steps to sit on, so I got 2"x2" Angle.
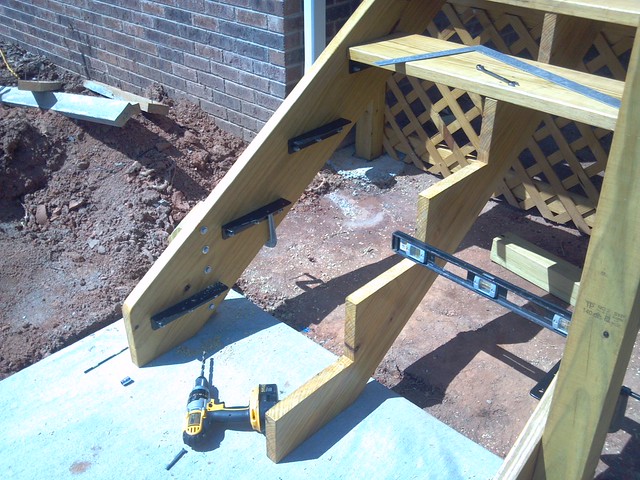
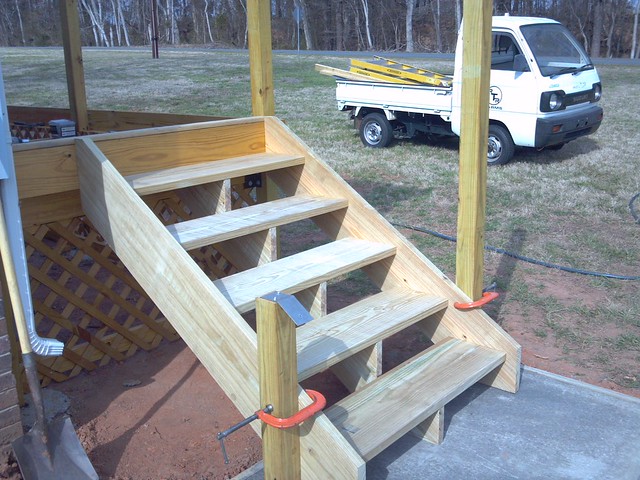
Next cut, fit & put the planks in.
Those planks have plates holding them together & lag bolts on the ends. I didn't take very good pictures of how everything bolted together. At the end I'll post a slide link of the project.
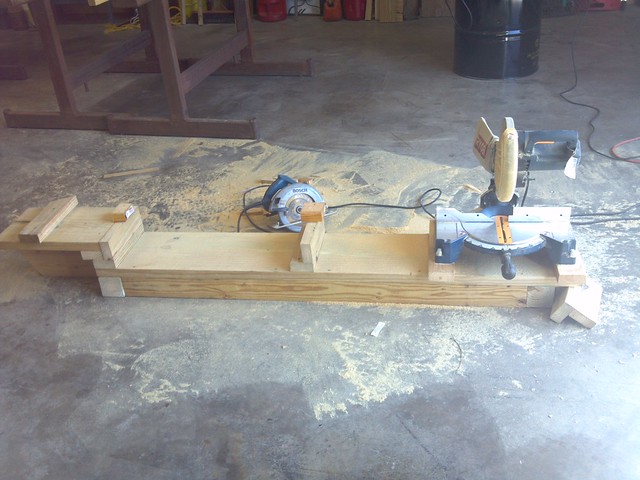
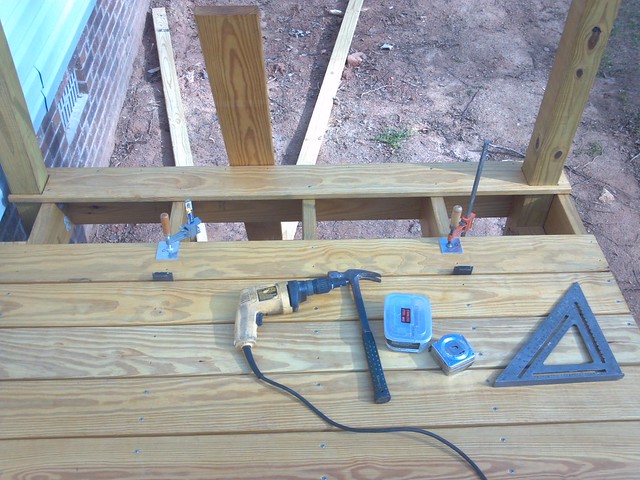
I needed a way to cut the deck boards the same lenght & do it easy, so I bolted the saw down.
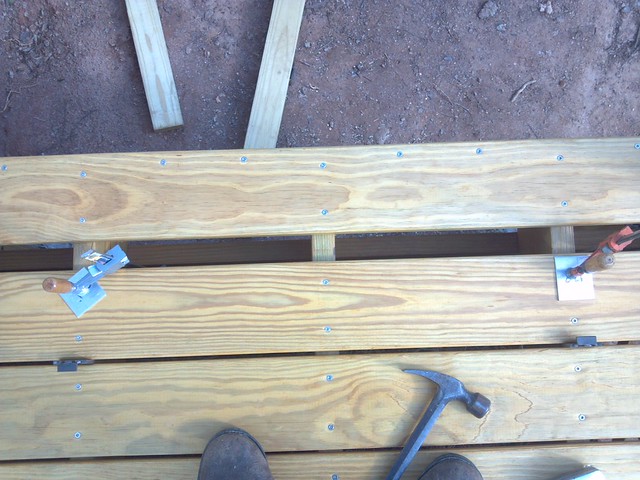
I also pre drilled every hole for the screws, I use a few of the stainless screws & they would rip the wood & splinter, I didn't like that look, so I tried drilling first & using a neat counter sink tool to keep that from happening. It worked IMO. There's no way to take a picture of how the deck screws turned out, they are in straight rows though.
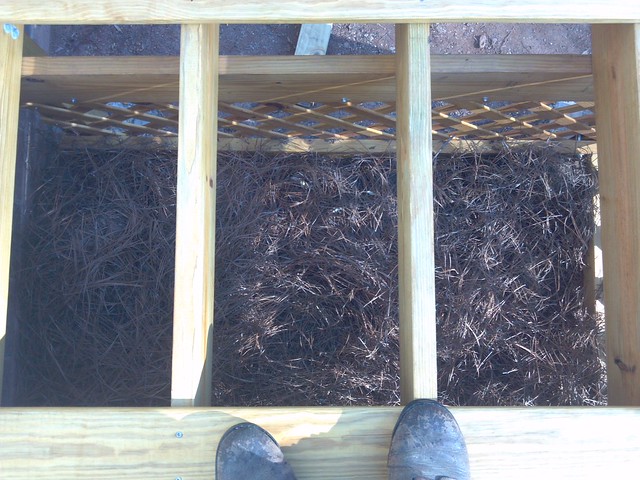
I have tried to sweep the old decks. The cracks catch the twiggs, I don't know if using a 1/4 gap will help but that is how I did this project.
Then I get to the end & like any project I said if only I had used 5/16" I wouldn't have to cut this really skinny board.
About half way acrossed I stopped & put long pine needles down. I hope they help keep the weeds out.
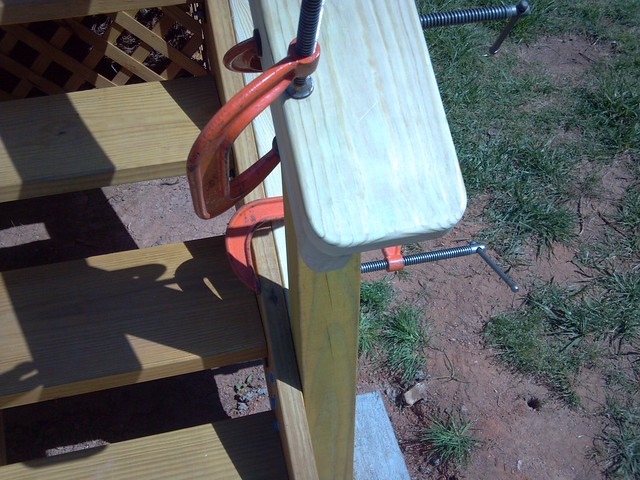
I wanted to do something different with the railing. I was seriously think about using plywood & cuting it so it would look like bushes with flowers, then paint it and seal it with some kind of polyurethane, But I chickened out !
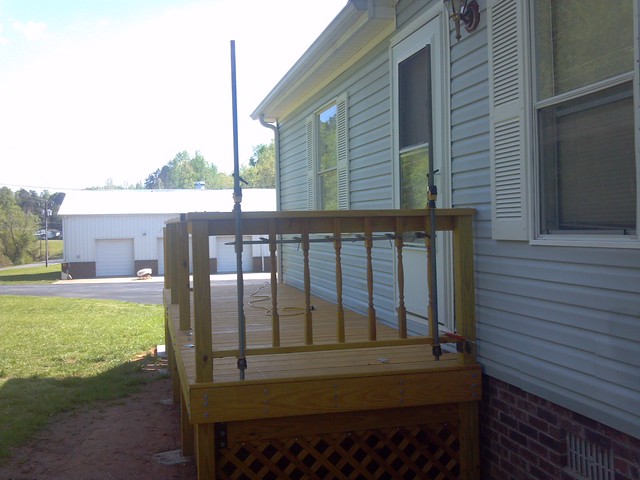
I made a jig to put the rails togehter. pretty simple.
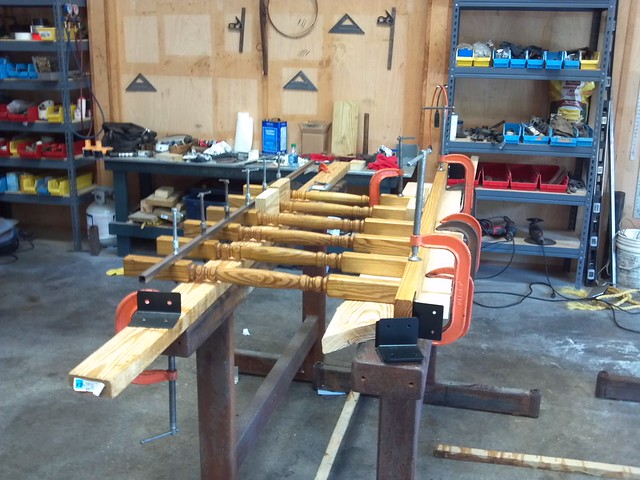
I took a piece of aluminum & made a hole templete so I didn't have to measure holes for the railing screws.
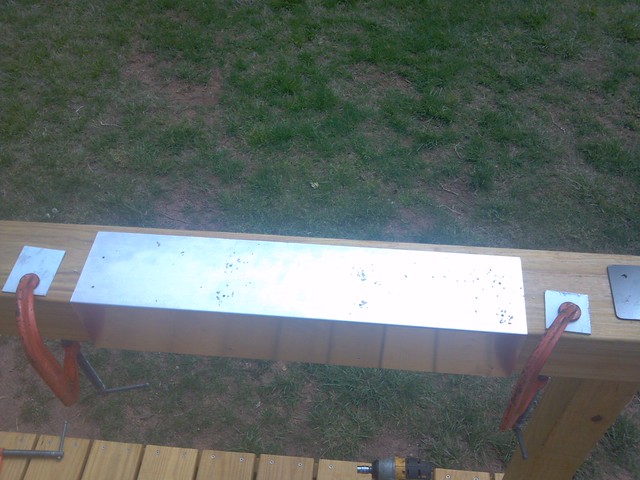
I'll keep the two I made & use them in the fall when I do the back porch for this home.
I wanted to make a hole templete for the deck boards, but the boards were all different widths. I couldn't make just one so I measured every board. I screwed one up out of 40 or so boards.
I checked to see how everything fit.
These 3 boards took many trips to get fitted.
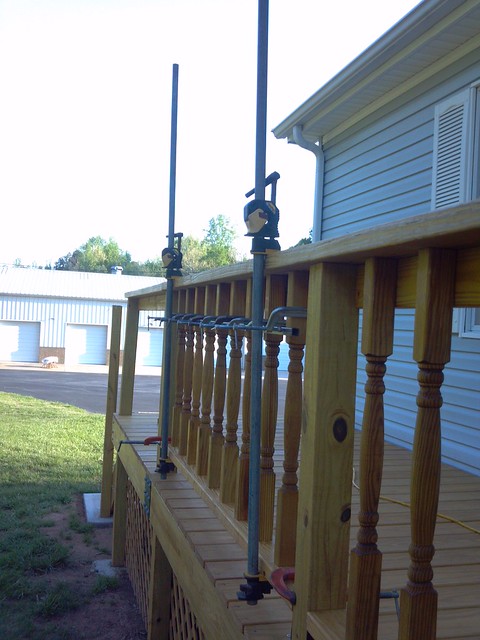
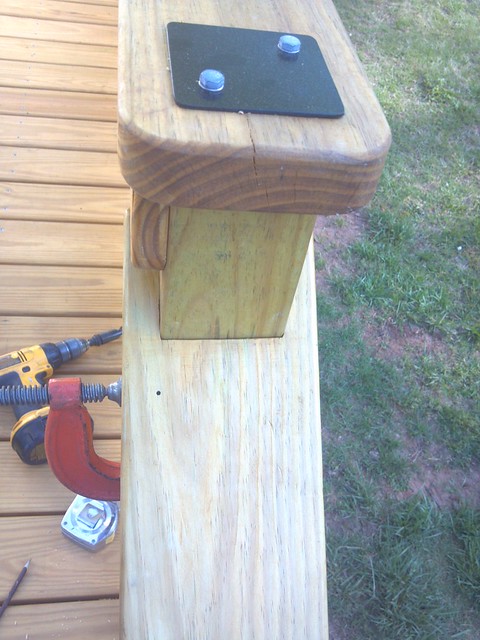
I used a big 7" 36 grit disc to round corners on all the railing boards.
I also used a router & a 1/4 round bit & re cut all the edges on the hand railing boards.
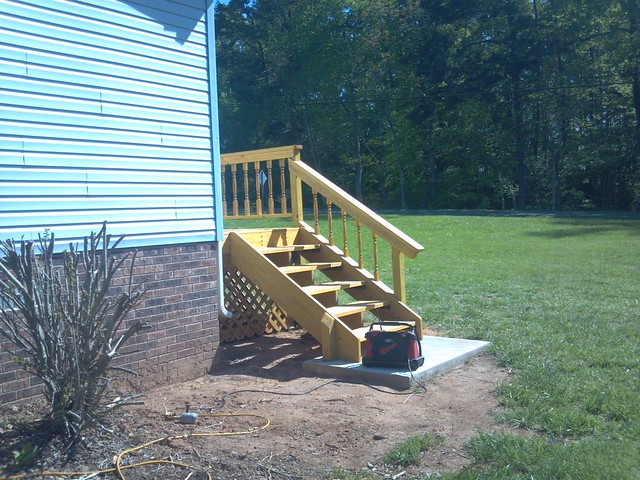
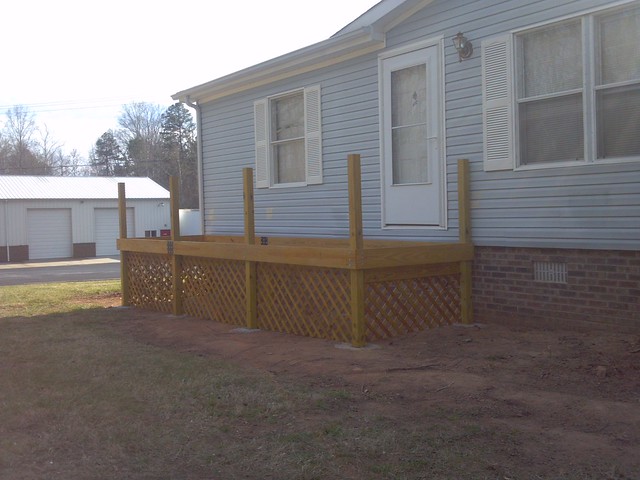
This is the first time I've built a porch/deck.
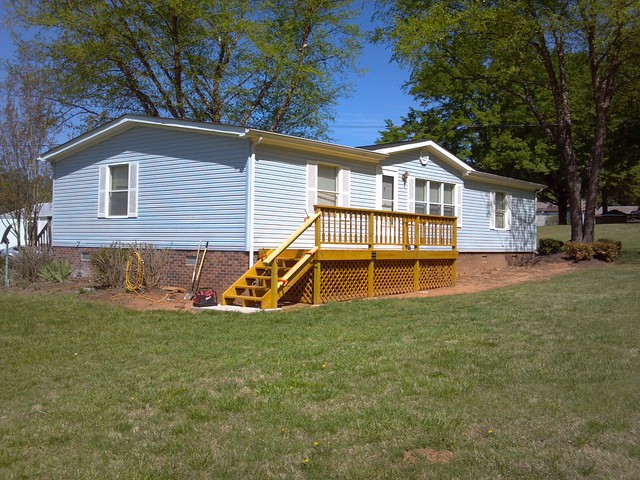
If you can read a tape measure I believe you can cut & build anything you decide to if you have the tools to do the job. I'm happy this part of the project is done.
Next I'm going to landscape it.
slide show
Thanks for checking out my project.

