Every quilter know the ones I'm talking about – maybe they are in the closet in your house, or tucked away in some other place for safekeeping. These are the ones with all those quilt blocks in them that you made and then got bored with, or got in a block exchange, or your friend gave you when she got bored with them. What to do? How do you actually make a quilt from them? How should you put them together? Let's dive under the squiggle and we'll talk about one of the many possibilities – pieced sashing.
The most common way to assemble a group of blocks is to put them together with sashing strips – strips of fabric sewn between the blocks to separate them from each other and to give added oomph to the design. So you set about choosing a fabric that best complements all the colors in the blocks. This is the safe, easy, most traditional way to accomplish the task at hand. And the results are often lovely.
But let's just imagine that there might be other options. Perhaps you want the ease of assembly you get with sashing strips, but you feel the quilt needs a little more pizzazz to make it really stand out. Have you ever thought about piecing that sashing to provide another design element? Let me show you a few ideas that may open your eyes to new possibilities.
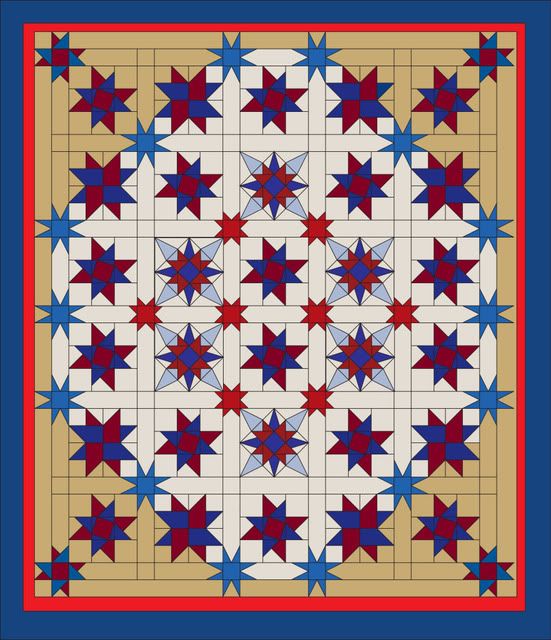
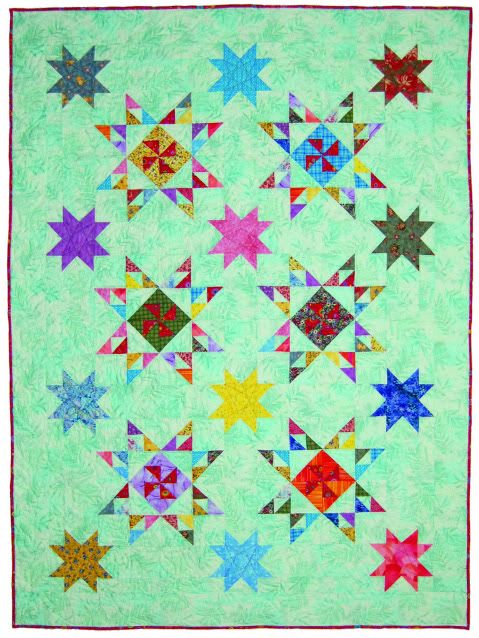
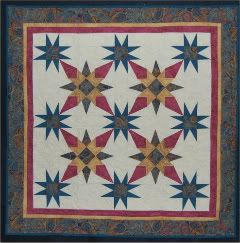
There are lots of different stars in this quilt, but they aren't all blocks – the smaller ones are actually pieced from the sashing – the lines on the diagram are where the seams are. I used several different pieced sashing units to make the different stars.
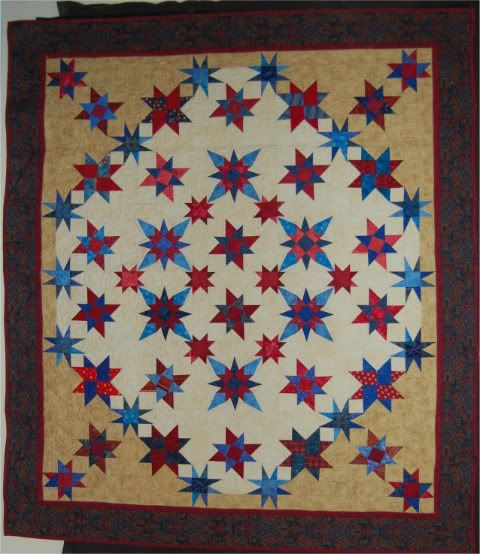
Here are a few more quilts with sashing that is pieced to form stars.
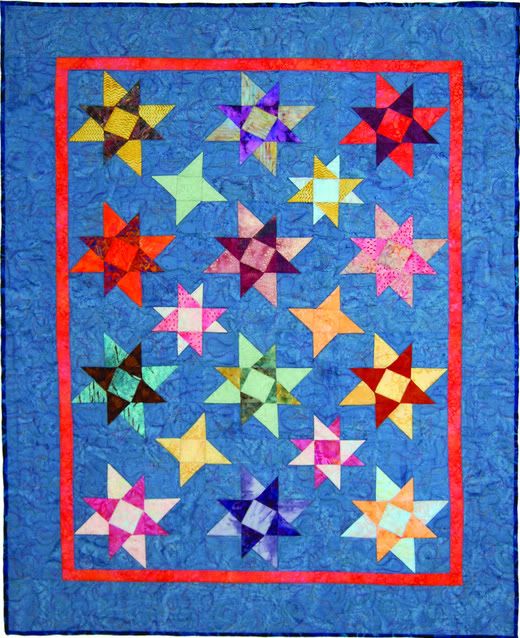
Dylan's Stars
Wyoming Valley Stars
Pinwheel Stars
Would you like to see how I did them? Here are samples of the various sashing strips I used to make them. When you put them between the blocks, they form more stars where the blocks come together.
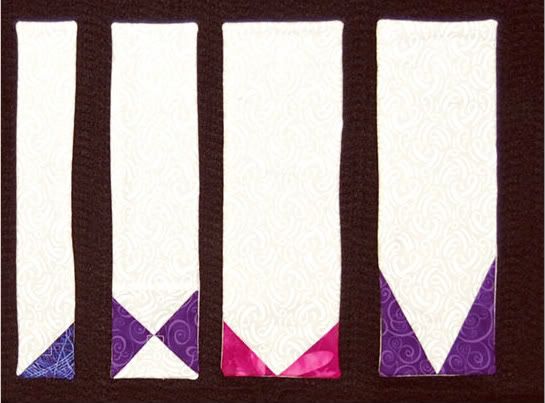
Sashing strips
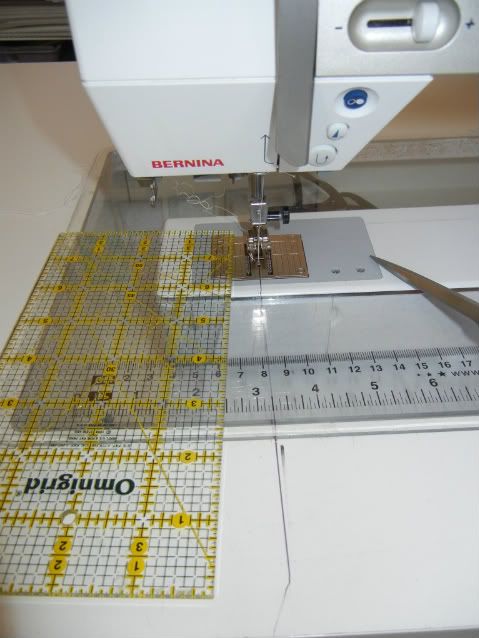
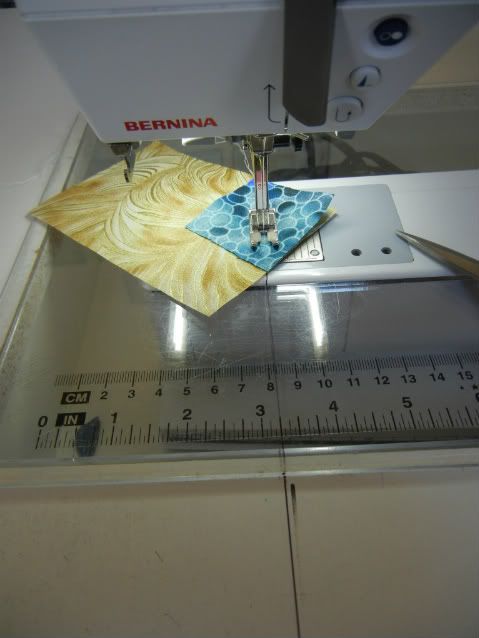
Most of the piecing is done with what I call "folded corners." Some people call them connector corners, or stitch and flip corners, but whatever you call them, they are amazingly useful. I do them without marking by using line drawn on my sewing machine. It goes straight forward from the needle. You can also use a piece of masking tape to mark the line if you don't want to draw on your machine (I use a Sharpie marker – the ultrafine point one). When you start to sew, line the small square up so that one corner is at the needle, the opposite corner follows the line of the tape as you stitch. This way, you end up with a straight line without having to mark it!
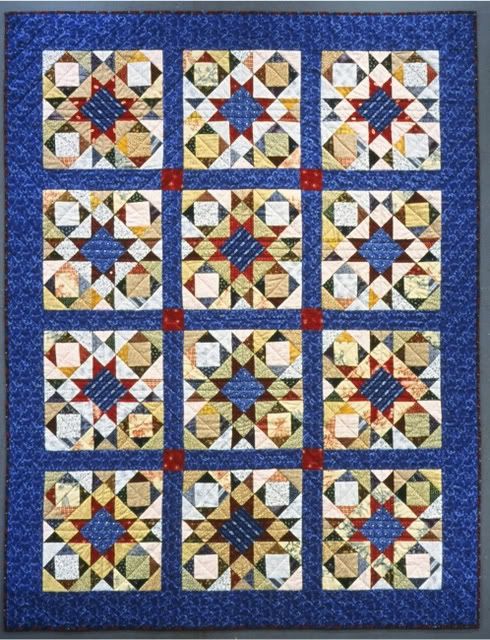
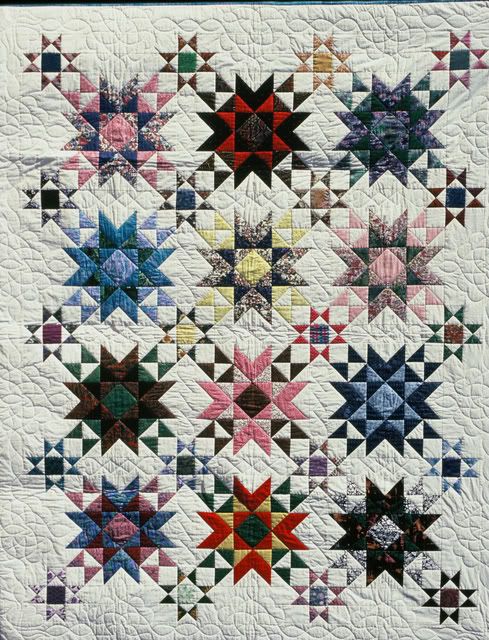
Here are a few more quilts I made with pieced sashing. Can you tell where the blocks end and the sashing begins?
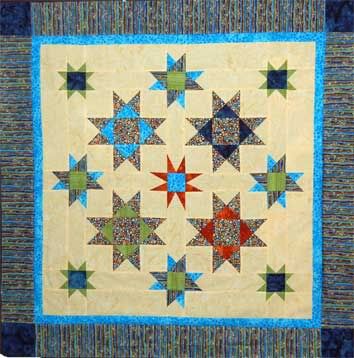
What makes the quilts look so complicated is that I use the same fabric for the sashing and the background of the quilt. That way, it all blends together and you can't tell where one block ends and the next one starts. If you don't have more of the same fabric to use for sashing, find something similar, or sew contrasting strips around your blocks before putting them together with something similar to the background – that way the two fabrics are separated and it's not as obvious that the fabrics are different – or it looks you planned it that way!
In the interests of full disclosure, I wrote a book about this -- called Savvy Sets for Scrappy Blocks. www.sallyschneider.com
Fun to share with members here!
