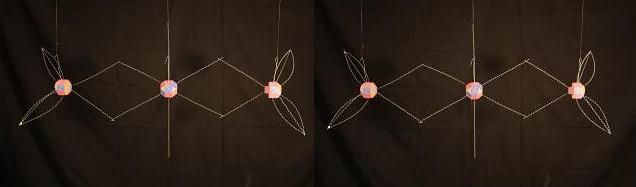
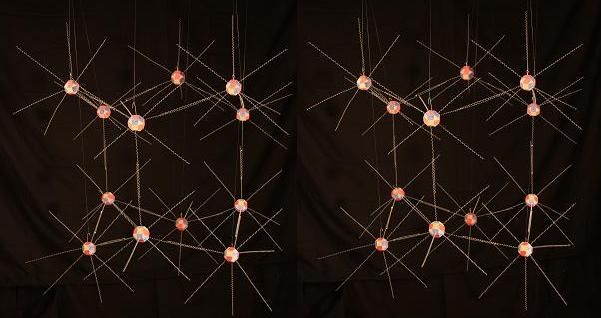
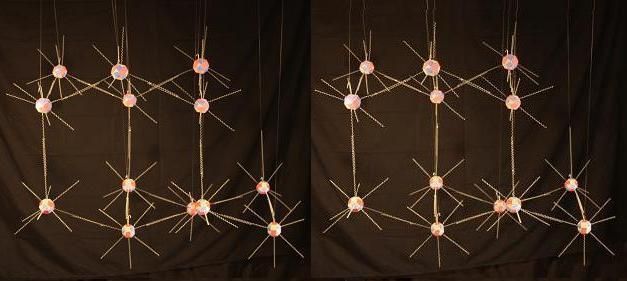
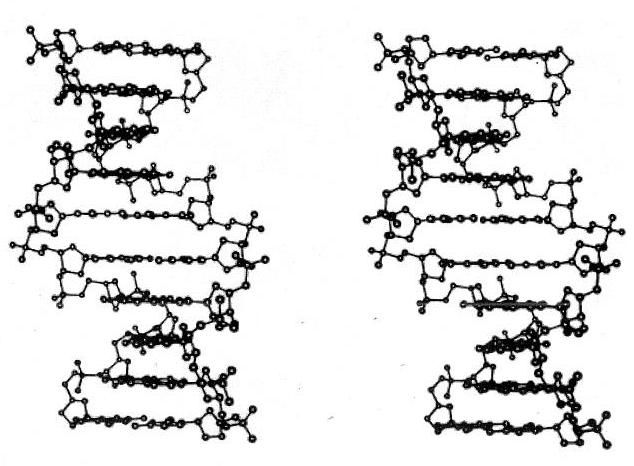
If you already know how to view 3-D cross eyed images, you should jump to the fold. But if you haven't learned this technique, the results are worth a little effort. Once you learn to see these images, you get a pretty good 3-D view of the object you're looking at. This method of presenting 3-D images is commonly used to display molecular structure. For example, the simple ball and stick image below reveals the 3-D structure of DNA very nicely.
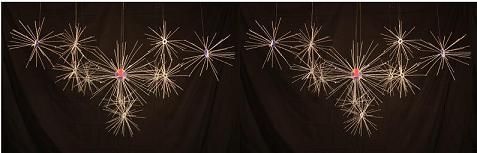
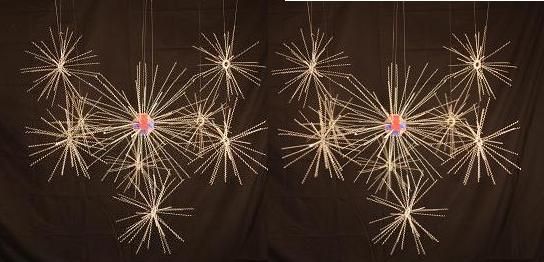
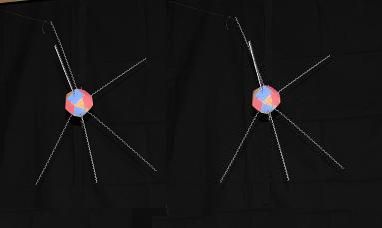
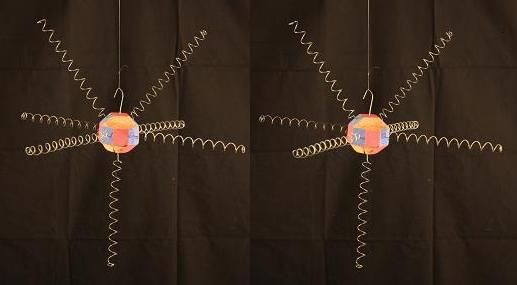
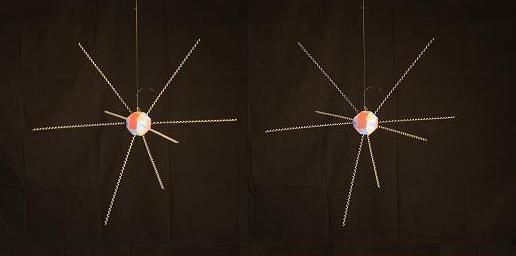
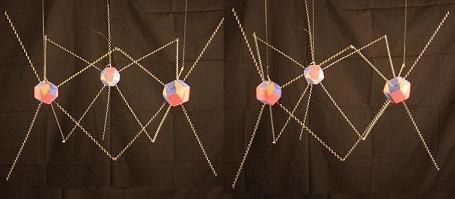
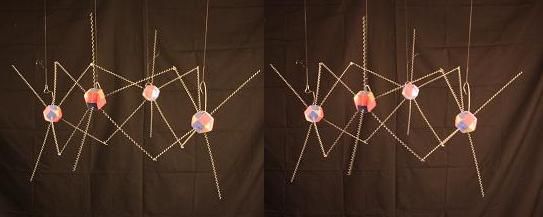
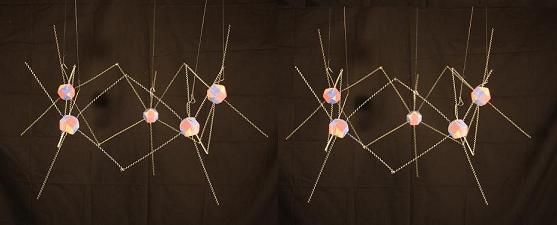
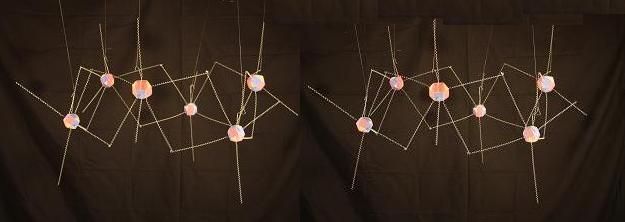
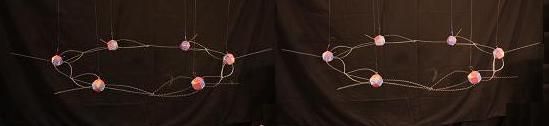
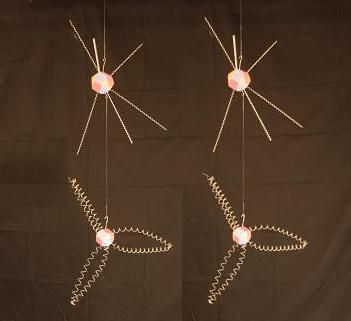
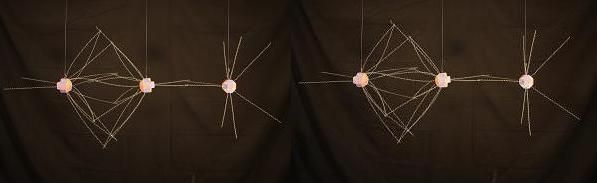
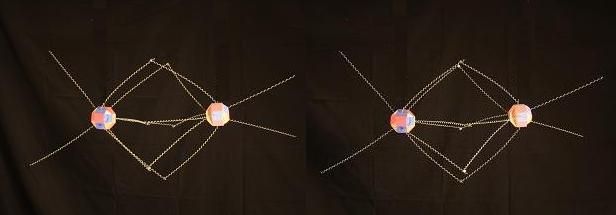
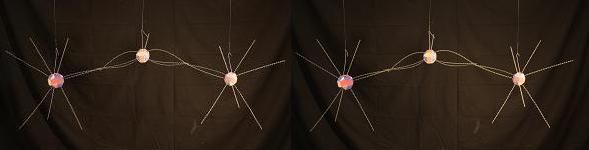
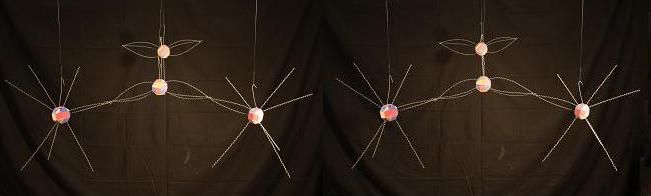
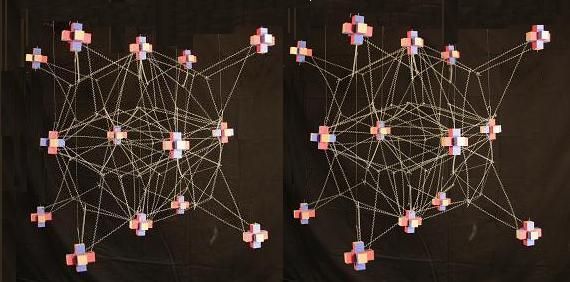
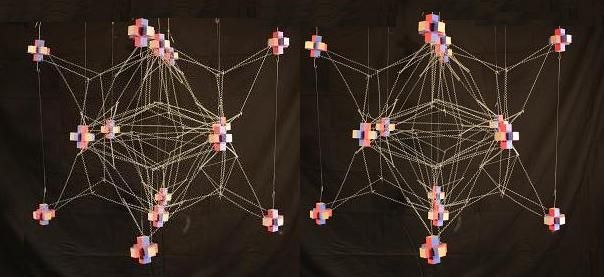
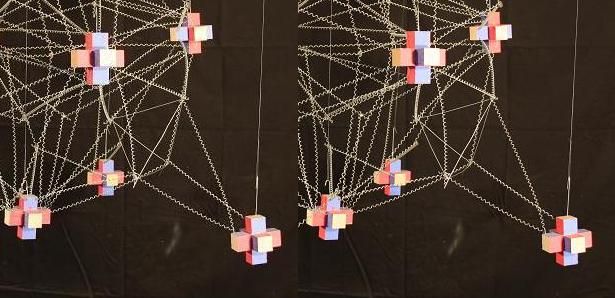
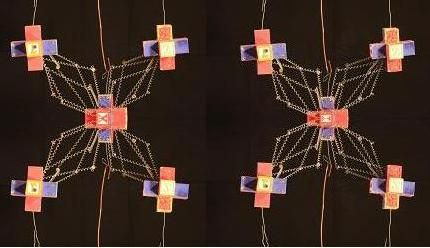
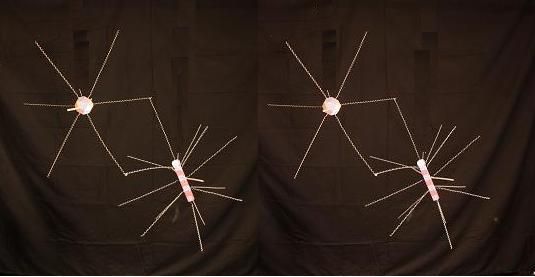
This method of presenting two coordinated images -- one to each (crossed) eye -- works with ordinary photographic images too. You take 2 pictures of the same scene from roughly an eye separation distance apart and put them side by side. And when you look at the images in the right way, you see a single image that appears much like it would if you were in front of the scene, looking at it with your normal binocular vision.
The best way to learn how to bring cross eyed 3-D images into focus is to take something with a fine point, like a pencil. Put the tip of the pencil in the middle of the 2 images and slowly move it toward a point in between your eyes. Keep your eyes level, and focus directly on the tip as you do this. And try to be aware of the 2 background images as you focus on the tip. Hopefully, as the tip gets about 2/3 of the way to your eyes, the two images will start to merge. Now, you have the right amount of cross-eyed angle. Your right eye is looking at the left image, and your left eye is looking at the right image. Try to maintain that, and then shift your focus from the tip onto the images. Take your time and try to see the two images as one. If you get it. You'll know it. If it doesn't work, start over. And if it starts to hurt, take a break. With some practice, you can learn to maintain the 3-D view comfortably.
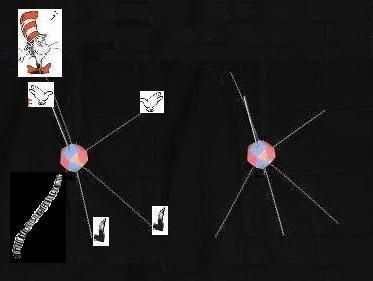
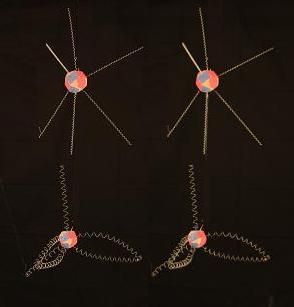
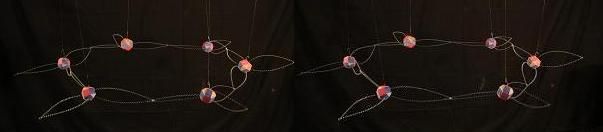
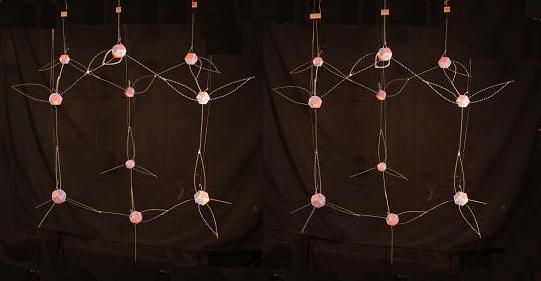
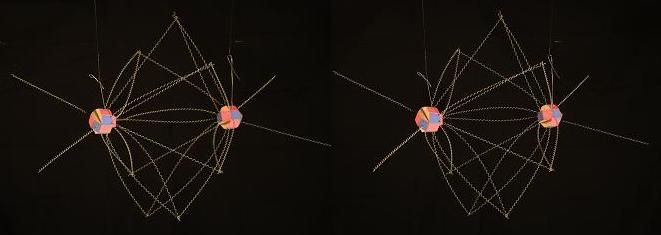
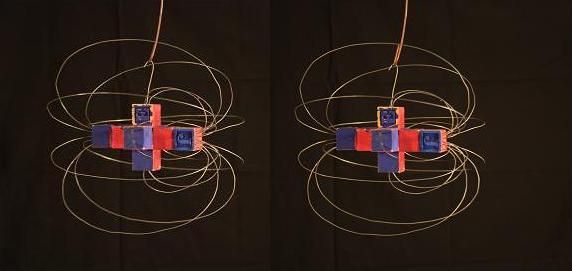
These are just models I took pics of. If you can do the cross eyed thing, you might have fun. Hope so.